The Importance of Screw Size, Capacity, and Material Residence Time in Injection Molding

In injection molding, ensuring the optimal performance of the machine and quality of the final product depends on various factors, with screw size and max capacity playing a pivotal role.
The screw is the heart of the process, responsible for melting, mixing, and injecting plastic into the mold. It’s crucial that the screw size aligns with the material’s viscosity and the required shot size for the part.
Equally important is calculating the residence time—the duration the material stays inside the screw. Prolonged residence time can lead to material degradation, affecting the final part quality.
This delicate balance of screw specifications and residence time must be carefully calculated by engineers to ensure the material is properly processed without compromising its integrity.
Here's why screw size and its capacity matter:
- Melt Flow and Material Processing:
- The screw size, including its diameter and length, affects how the material is heated and melted. If the screw is too small, it may not provide enough heat and pressure to properly melt the plastic, leading to incomplete melting and poor-quality parts. If the screw is too large, it could lead to overheating and degrade the plastic.
- Injection Pressure:
- A screw with inadequate capacity may not be able to generate enough pressure to fill the mold completely, leading to issues like short shots, voids, or poor part quality. A screw that is too large for the application can lead to excessive pressure, which might strain the injection unit, affect cycle time, or cause overpacking and warping in the molded part.
- Plastic Type and Viscosity:
- Different plastics have different viscosities, and this determines the screw size needed. High-viscosity materials (like filled resins or thick plastics) need a larger screw with more capacity to process them effectively. For low-viscosity materials (like thin, unfilled resins), a smaller screw is usually sufficient.
- Max Capacity:
- The maximum capacity of the screw refers to the volume of plastic it can inject within a given cycle. If the screw is undersized for the shot size required, it can cause issues like incomplete fills or longer cycle times due to the need for additional passes.
- Cycle Time and Efficiency:
- A properly sized screw helps ensure that material is injected at the right rate and under the right conditions, which optimizes cycle time and overall efficiency in the molding process.
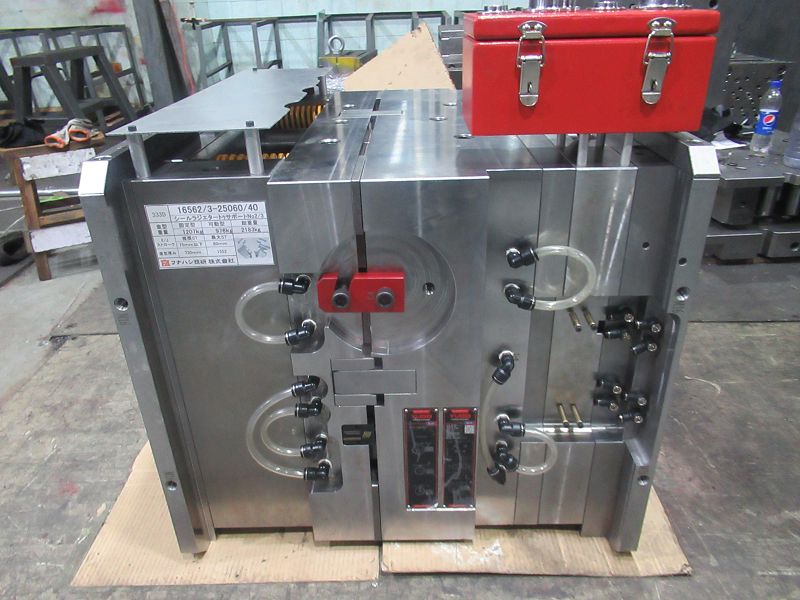
When a mold is ready for its first trial shot, knowing the tonnage of the mold, the weight of the part, and the material type is crucial for selecting the right injection molding machine. This allows you to choose the correct machine tonnage, screw size, and adjust process parameters, such as heating times, to avoid degrading the plastic.
Let’s break this down in more detail:
1. Calculating the Machine Tonnage:
The tonnage of the injection molding machine refers to the clamping force that holds the mold together during injection. It is crucial to match the clamping force to the mold's requirements to ensure the mold doesn’t open or cause flash (excess material along the parting line).
- Formula for Clamping Force (Tonnage):
The clamping force can be roughly estimated using the part weight and projected surface area:
Clamping Force (Tons)=Part Weight (grams)×Projected Area (cm²)×Specific Pressure (kg/cm²)\text{Clamping Force (Tons)} = \text{Part Weight (grams)} \times \text{Projected Area (cm²)} \times \text{Specific Pressure (kg/cm²)}Clamping Force (Tons)=Part Weight (grams)×Projected Area (cm²)×Specific Pressure (kg/cm²)
The specific pressure is typically 40–120 kg/cm², depending on the material and part complexity.
Example:
If you have a part weighing 100 grams and the projected area of the part (the area exposed to pressure during injection) is 10 cm², and assuming a specific pressure of 60 kg/cm², the clamping force required would be:
100g×10cm²×60kg/cm²=60,000kgor60tons100 \text{g} \times 10 \text{cm²} \times 60 \text{kg/cm²} = 60,000 kg or 60 tons100g×10cm²×60kg/cm²=60,000kgor60tons
So, you would need a 60-ton clamping force machine.
2. Selecting the Correct Screw Size:
The screw size and its capacity depend on the weight of the part, the material’s characteristics, and the machine's injection capacity. The screw must melt, mix, and inject the plastic properly into the mold, and its size must correspond to the volume of plastic it will process per cycle.
- Screw Size Considerations:
- Diameter: A larger screw diameter allows for greater throughput and better mixing, which is important for thicker or more viscous materials.
- Length-to-Diameter Ratio (L/D Ratio): A longer screw (higher L/D) provides better mixing and melting capabilities. Typically, an L/D ratio between 20:1 to 30:1 is common for injection molding, though this can vary depending on material.
- Screw Capacity:
Screw capacity is calculated based on the part weight and cycle time, which helps determine the volume of material the screw can inject per cycle.
Formula for Screw Capacity (cc/s):
Screw Capacity (cc/s)=Part Weight (grams)Cycle Time (seconds)\text{Screw Capacity (cc/s)} = \frac{\text{Part Weight (grams)}}{\text{Cycle Time (seconds)}}Screw Capacity (cc/s)=Cycle Time (seconds)Part Weight (grams)
Example:
If the part weight is 100 grams, and the cycle time is 20 seconds:
100grams20seconds=5grams/sec\frac{100 \text{grams}}{20 \text{seconds}} = 5 \text{grams/sec}20seconds100grams=5grams/sec
So, the screw should have a capacity to inject 5 grams per second.
3. Material Type and Heating Time:
Each material has its own processing temperature range, and it’s critical to ensure that the material is adequately heated before injection to prevent degradation.
- Material-Specific Considerations:
- Thermoplastics (e.g., ABS, PC, PA66): These materials melt at specific temperatures and require precise control over heating to avoid degradation. For example, PA66 (Nylon) needs to be heated to around 270–300°C to avoid thermal degradation.
- Thermosets and Filled Resins (e.g., fiberglass-filled materials): These materials are less tolerant to heat degradation. Special care must be taken with the screw and barrel temperatures to prevent decomposition.
- Heating Time:
The heating time depends on:
- Screw Speed and Shot Size: Slower screw speeds and larger shot sizes require longer heating times for complete melting.
- Barrel Design: A well-designed barrel with sufficient heating zones helps ensure that the plastic is properly melted. Typically, there are 3–4 heating zones along the barrel (feed zone, compression zone, metering zone).
- Residence Time: The material should not stay in the barrel too long (which would lead to degradation), so the process must be carefully calibrated to minimize unnecessary residence time in the barrel.
Example: For ABS, the material should be heated to around 220°C at the screw tip, with the residence time usually kept to around 2–3 minutes to prevent degradation.
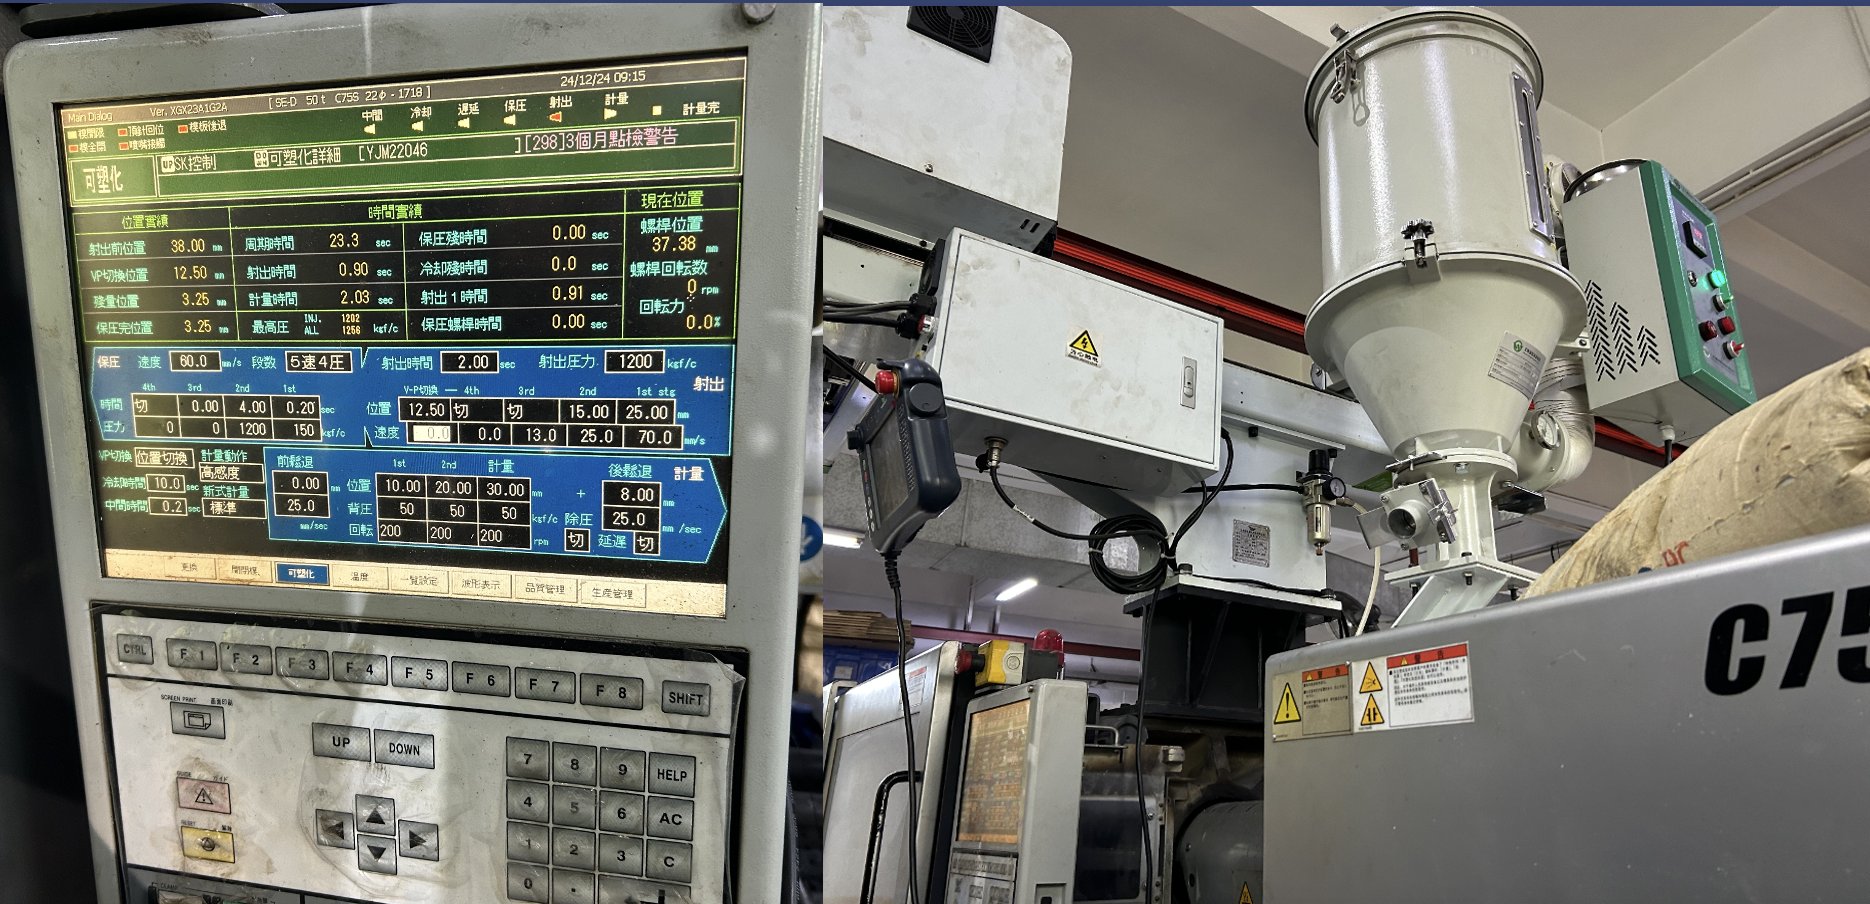
4. Injection Pressure and Speed:
- The injection pressure and speed should be adjusted based on the material and part design. Higher viscosity materials, like glass-filled resins, require higher injection pressure to fill the mold properly.
- The injection speed should be high enough to fill the mold quickly but not so high that it causes flash or reduces part quality. Materials like PC (Polycarbonate) or PMMA (Acrylic) require faster injection speeds due to their relatively low viscosity compared to more viscous materials like PA66 (Nylon).
5. Optimizing the Process for Quality and Efficiency:
- Cycle Time: The cycle time is influenced by factors such as part complexity, material properties, mold cooling rate, and screw size. A well-calibrated injection molding process ensures that the machine operates at the optimal cycle time, reducing waste and improving efficiency.
- Cooling Time: Cooling time is one of the most time-consuming parts of the molding cycle. Materials with higher heat capacity or thicker parts take longer to cool, so the cooling system (and mold design) must be optimized for each material.
6. Final Considerations:
To summarize, when you know the mold tonnage, part weight, and material:
- Tonnage: The correct tonnage machine is chosen based on part weight and projected area to ensure proper clamping pressure.
- Screw Size: The screw size is determined by the part weight and cycle time, as well as material viscosity, ensuring the screw can melt and inject the material efficiently.
- Material: The correct heating time and temperatures are chosen to avoid material degradation and ensure proper melt flow, which varies by material type.
This careful matching of machine and process parameters ensures that the first trial shot of the mold runs smoothly, with minimal issues like incomplete fills, degradation, or excessive cycle times. Once the trial shot is complete, process adjustments can be made to fine-tune the results.
Dan
Factory add: No 39, Zhen an west road, Changan town , Dong guan city, China.