Red Lead Spotting in Mold Making: A Simple Technique Behind High-Precision Tooling

In precision mold manufacturing, achieving perfect fit between components is not just important—it’s critical. One traditional yet highly effective method used by experienced toolmakers is red lead spotting (also known as spotting compound inspection).
Although simple in concept, this technique plays a vital role in ensuring mold quality, sealing performance, and long-term reliability.
🧩 What Is Red Lead Spotting?
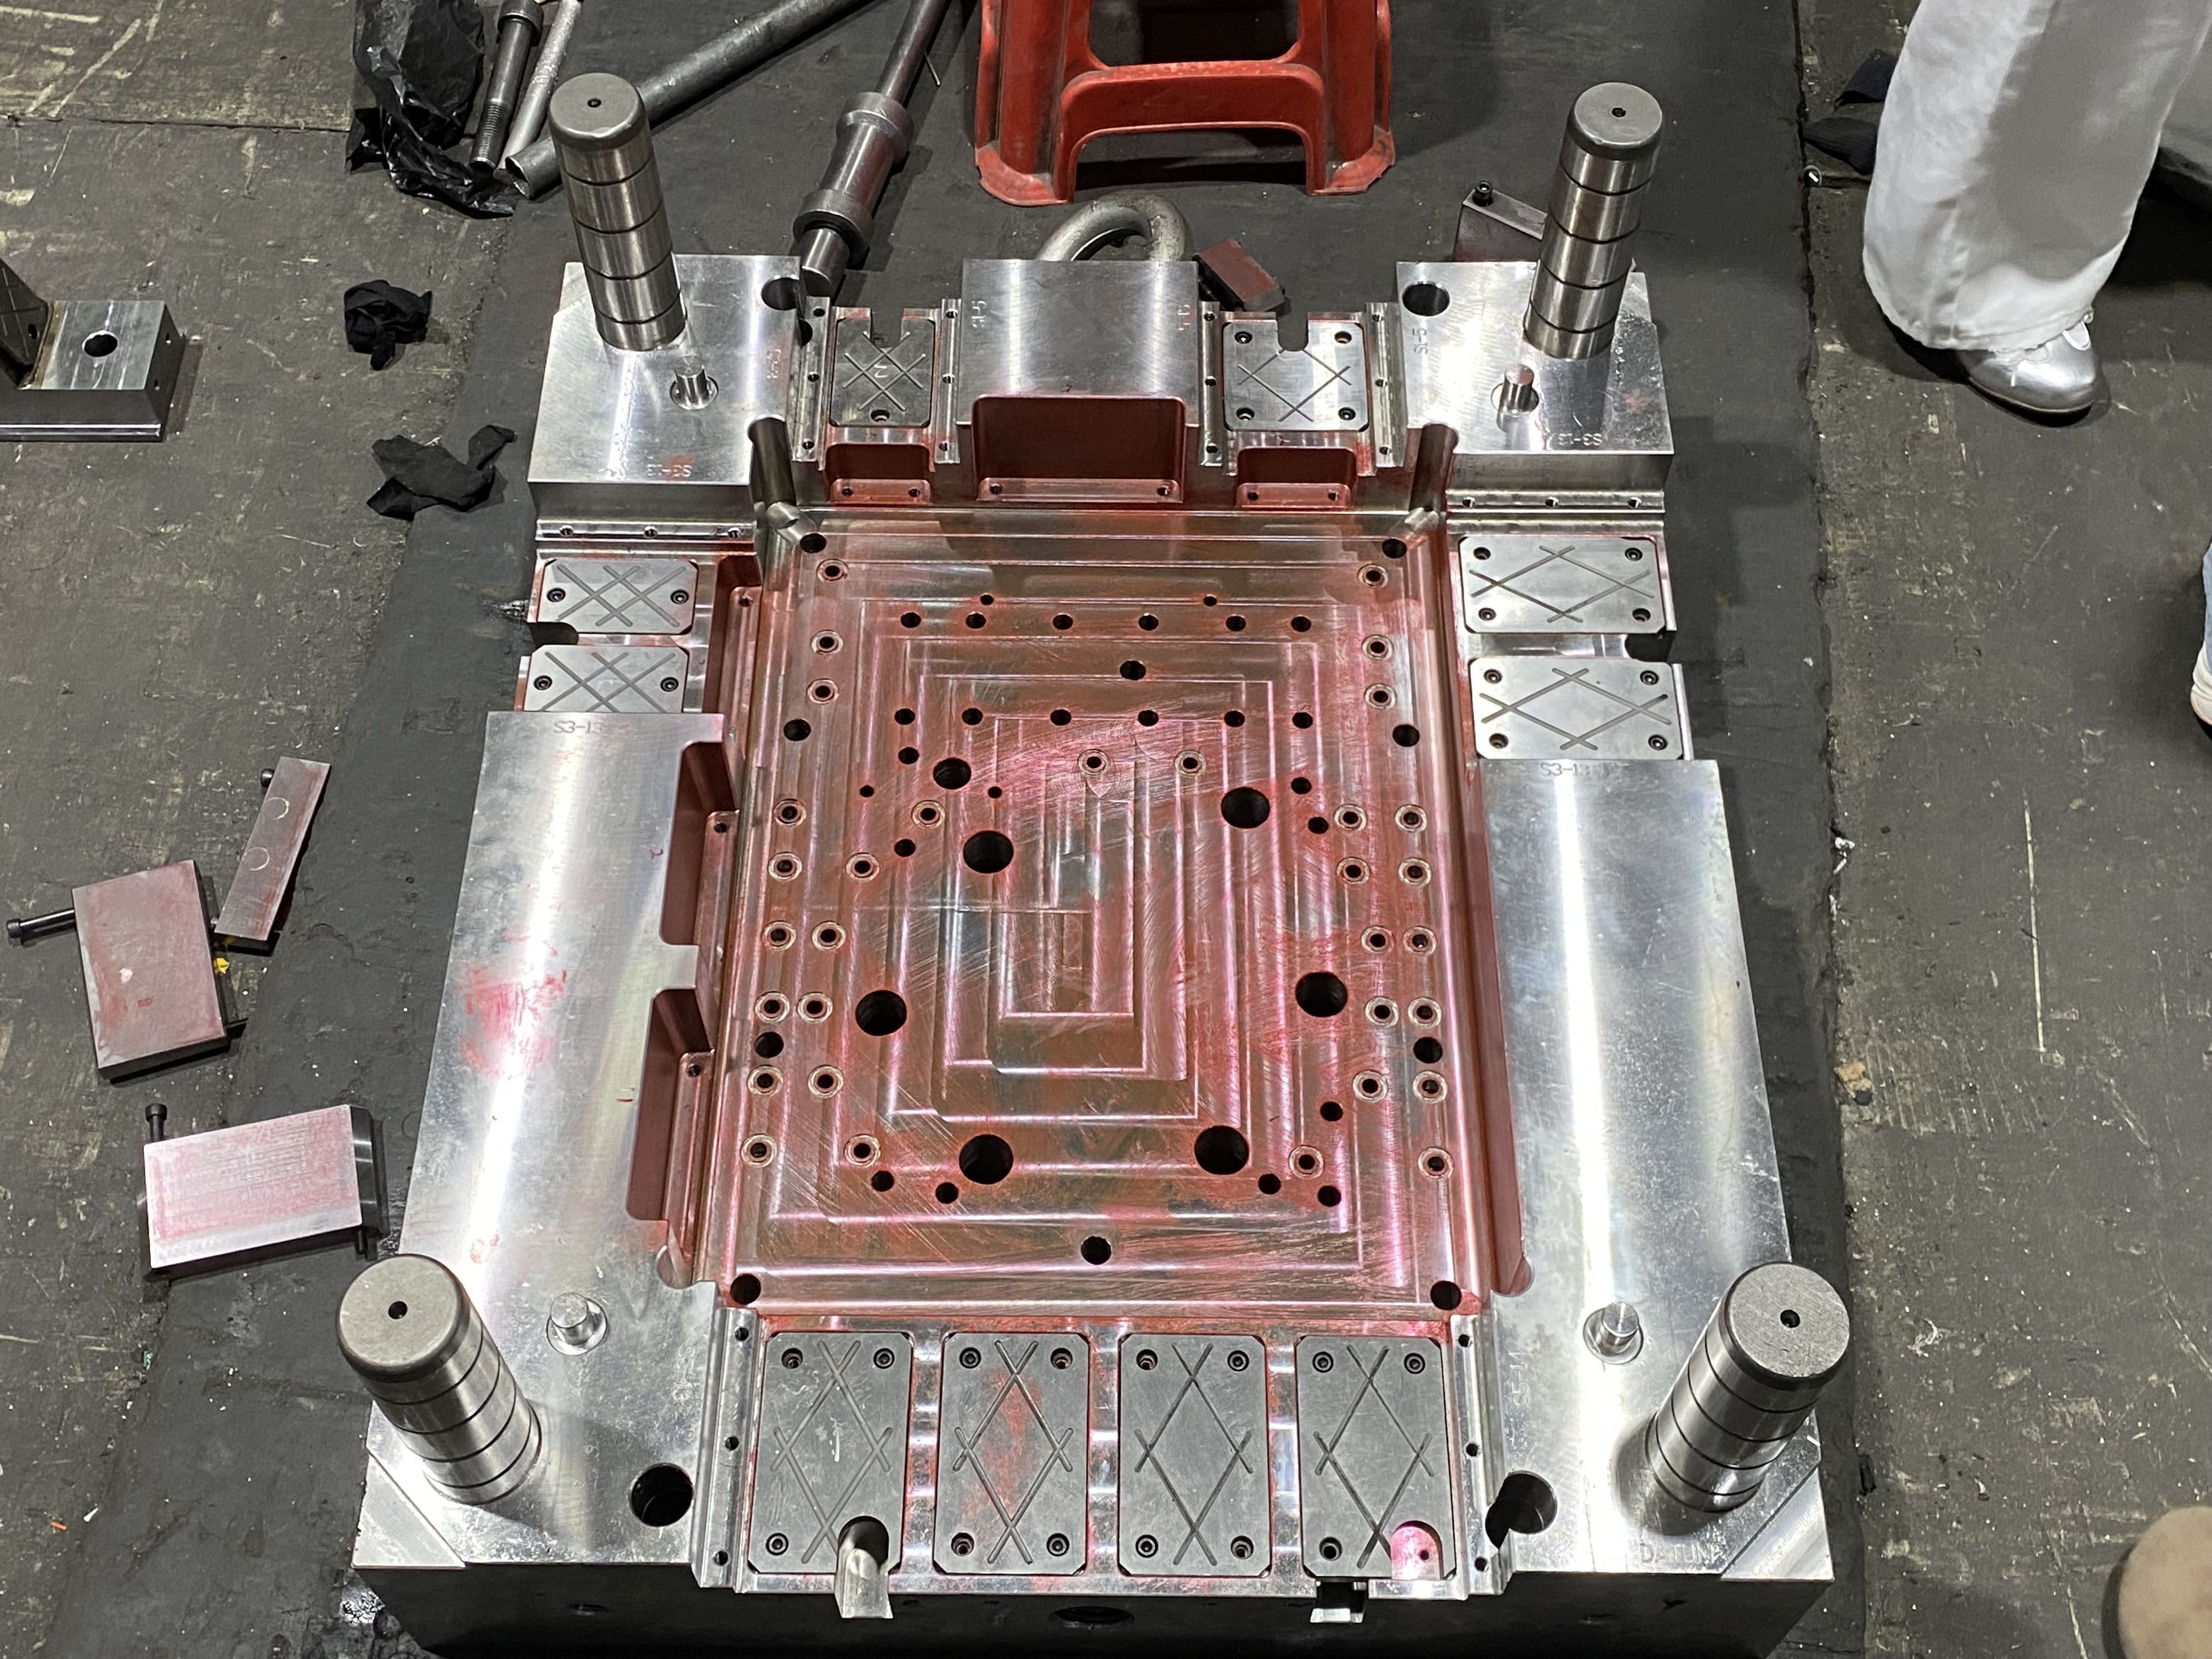
Red lead (or modern spotting compounds) is a colored marking material applied to a mold surface to visually indicate contact conditions between mating components.
It is commonly used during:
- Mold assembly
- Fitting (hand finishing / bench work)
- Maintenance and repair processes
Think of it as a “visual language” that reveals how well two surfaces actually meet.

🎯 Why Is It Important?
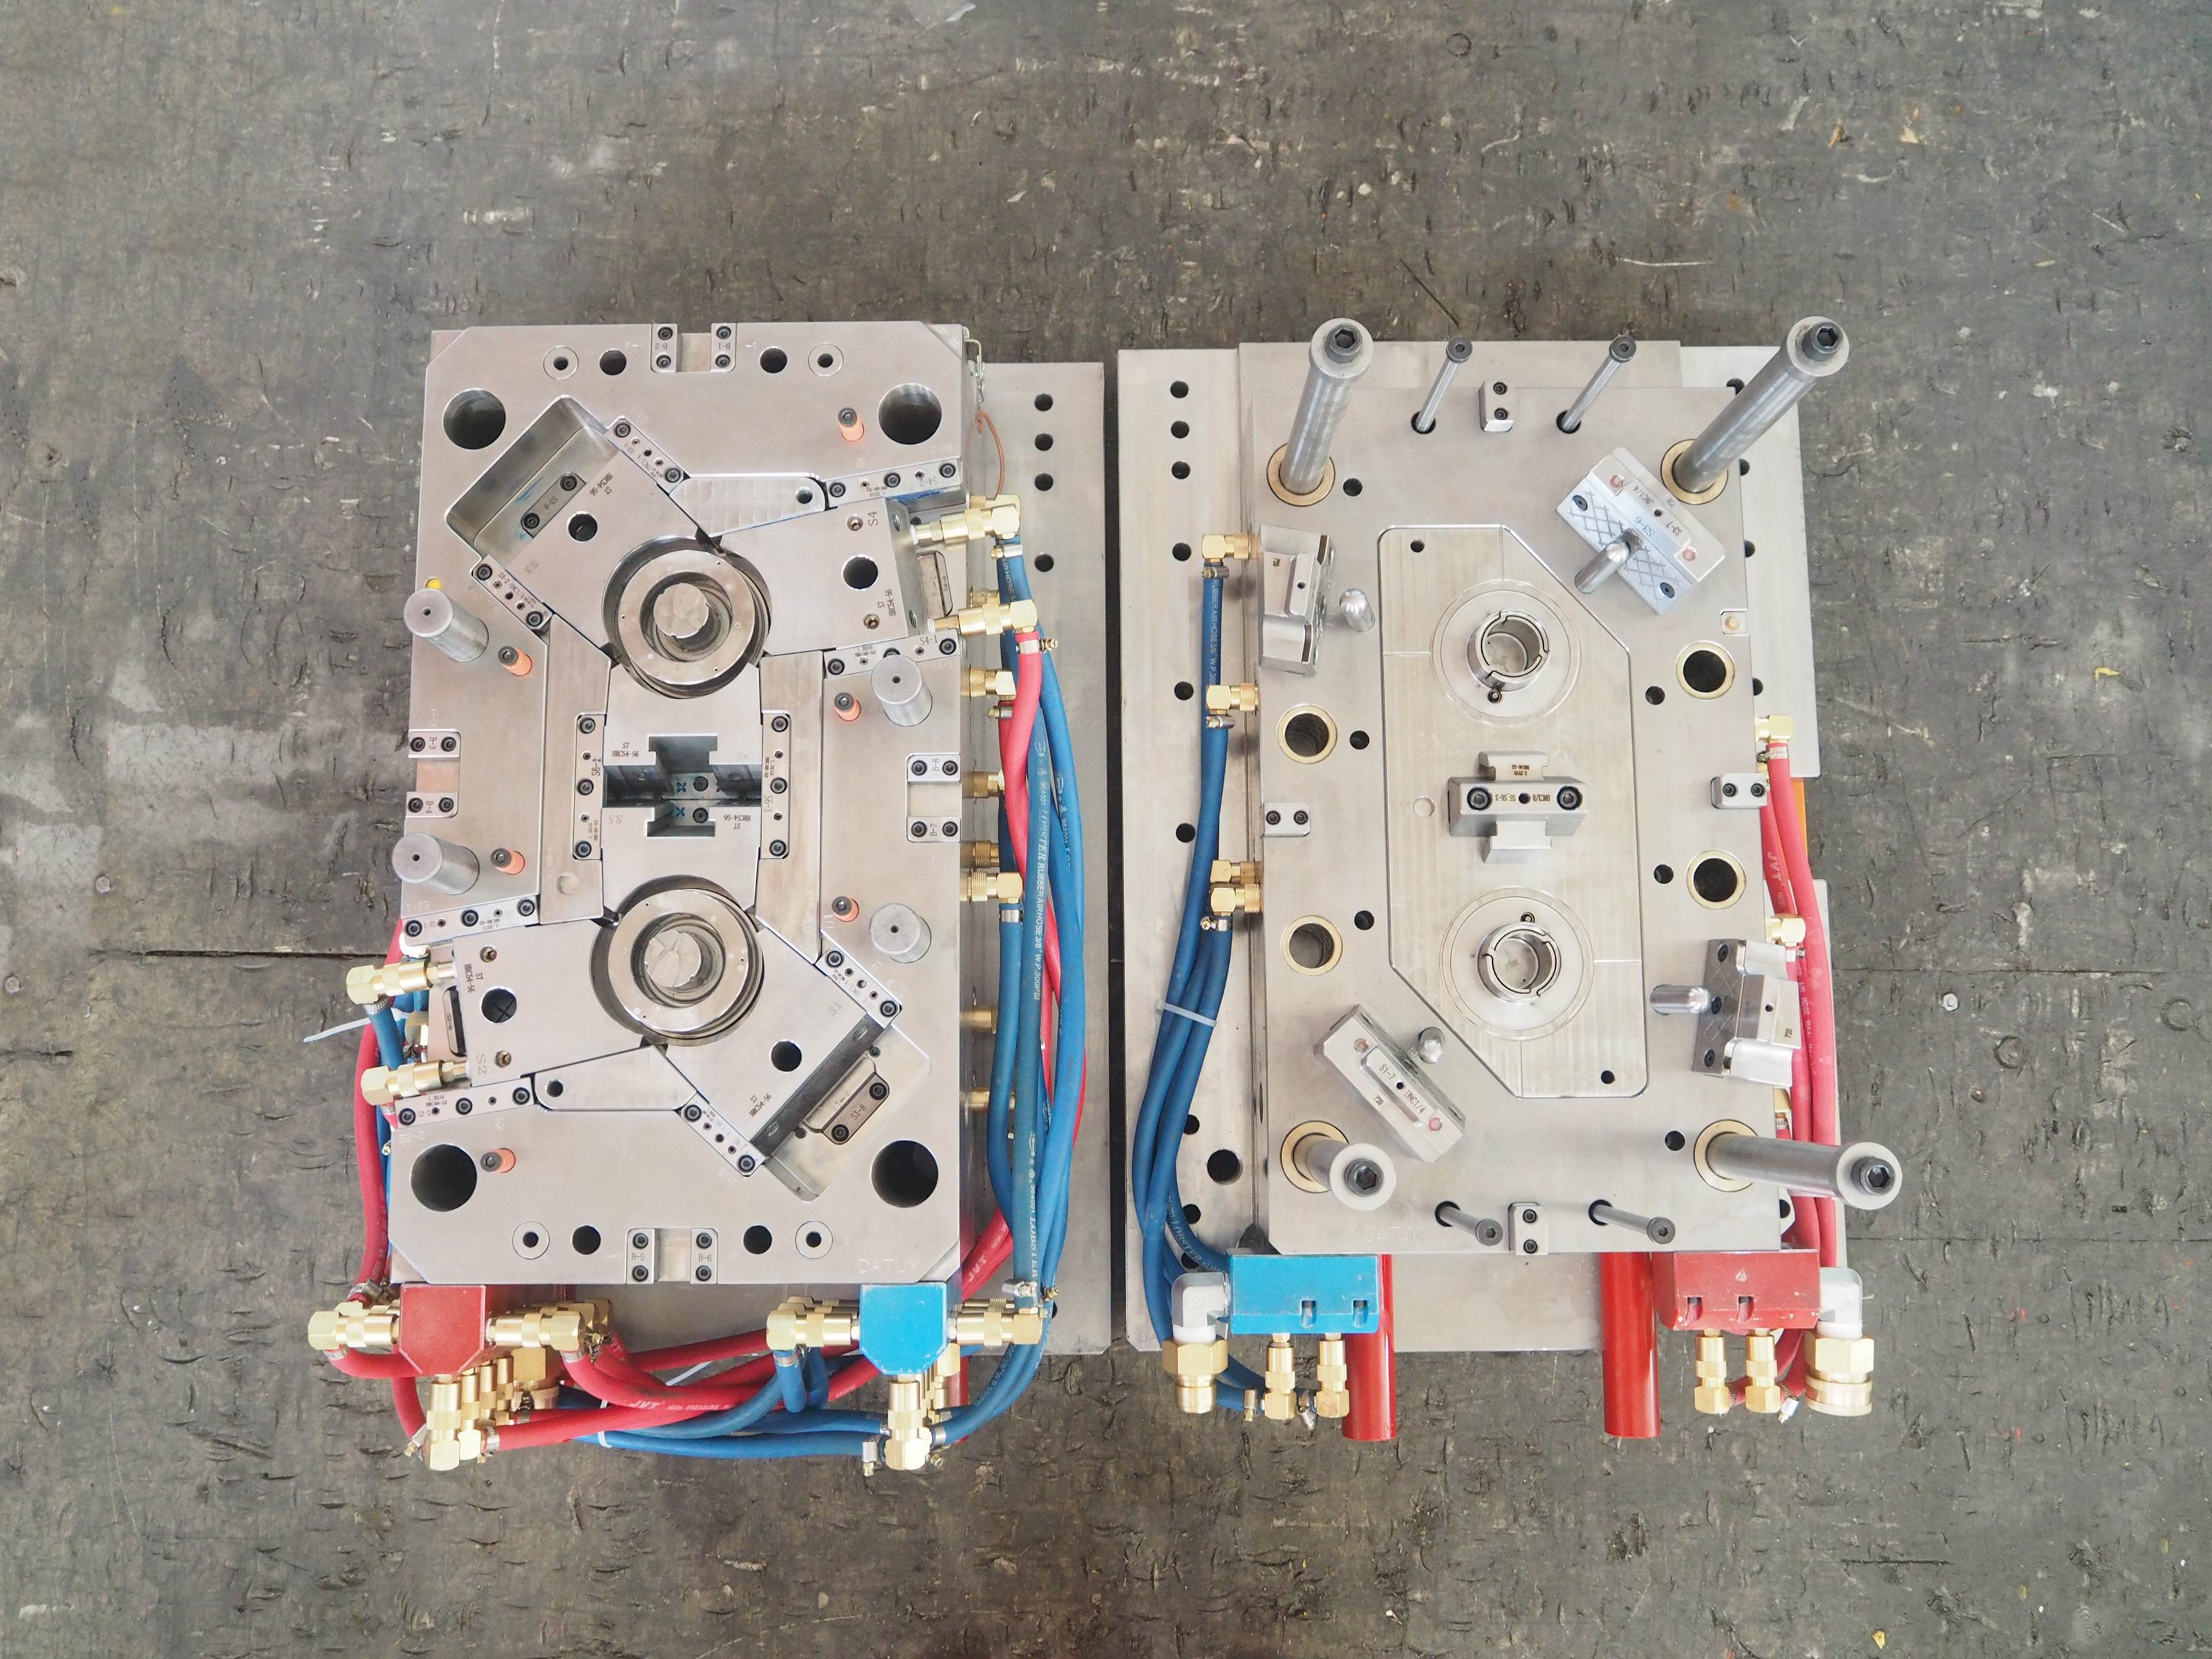
In mold making, many critical surfaces must fit together precisely:
- Parting surfaces
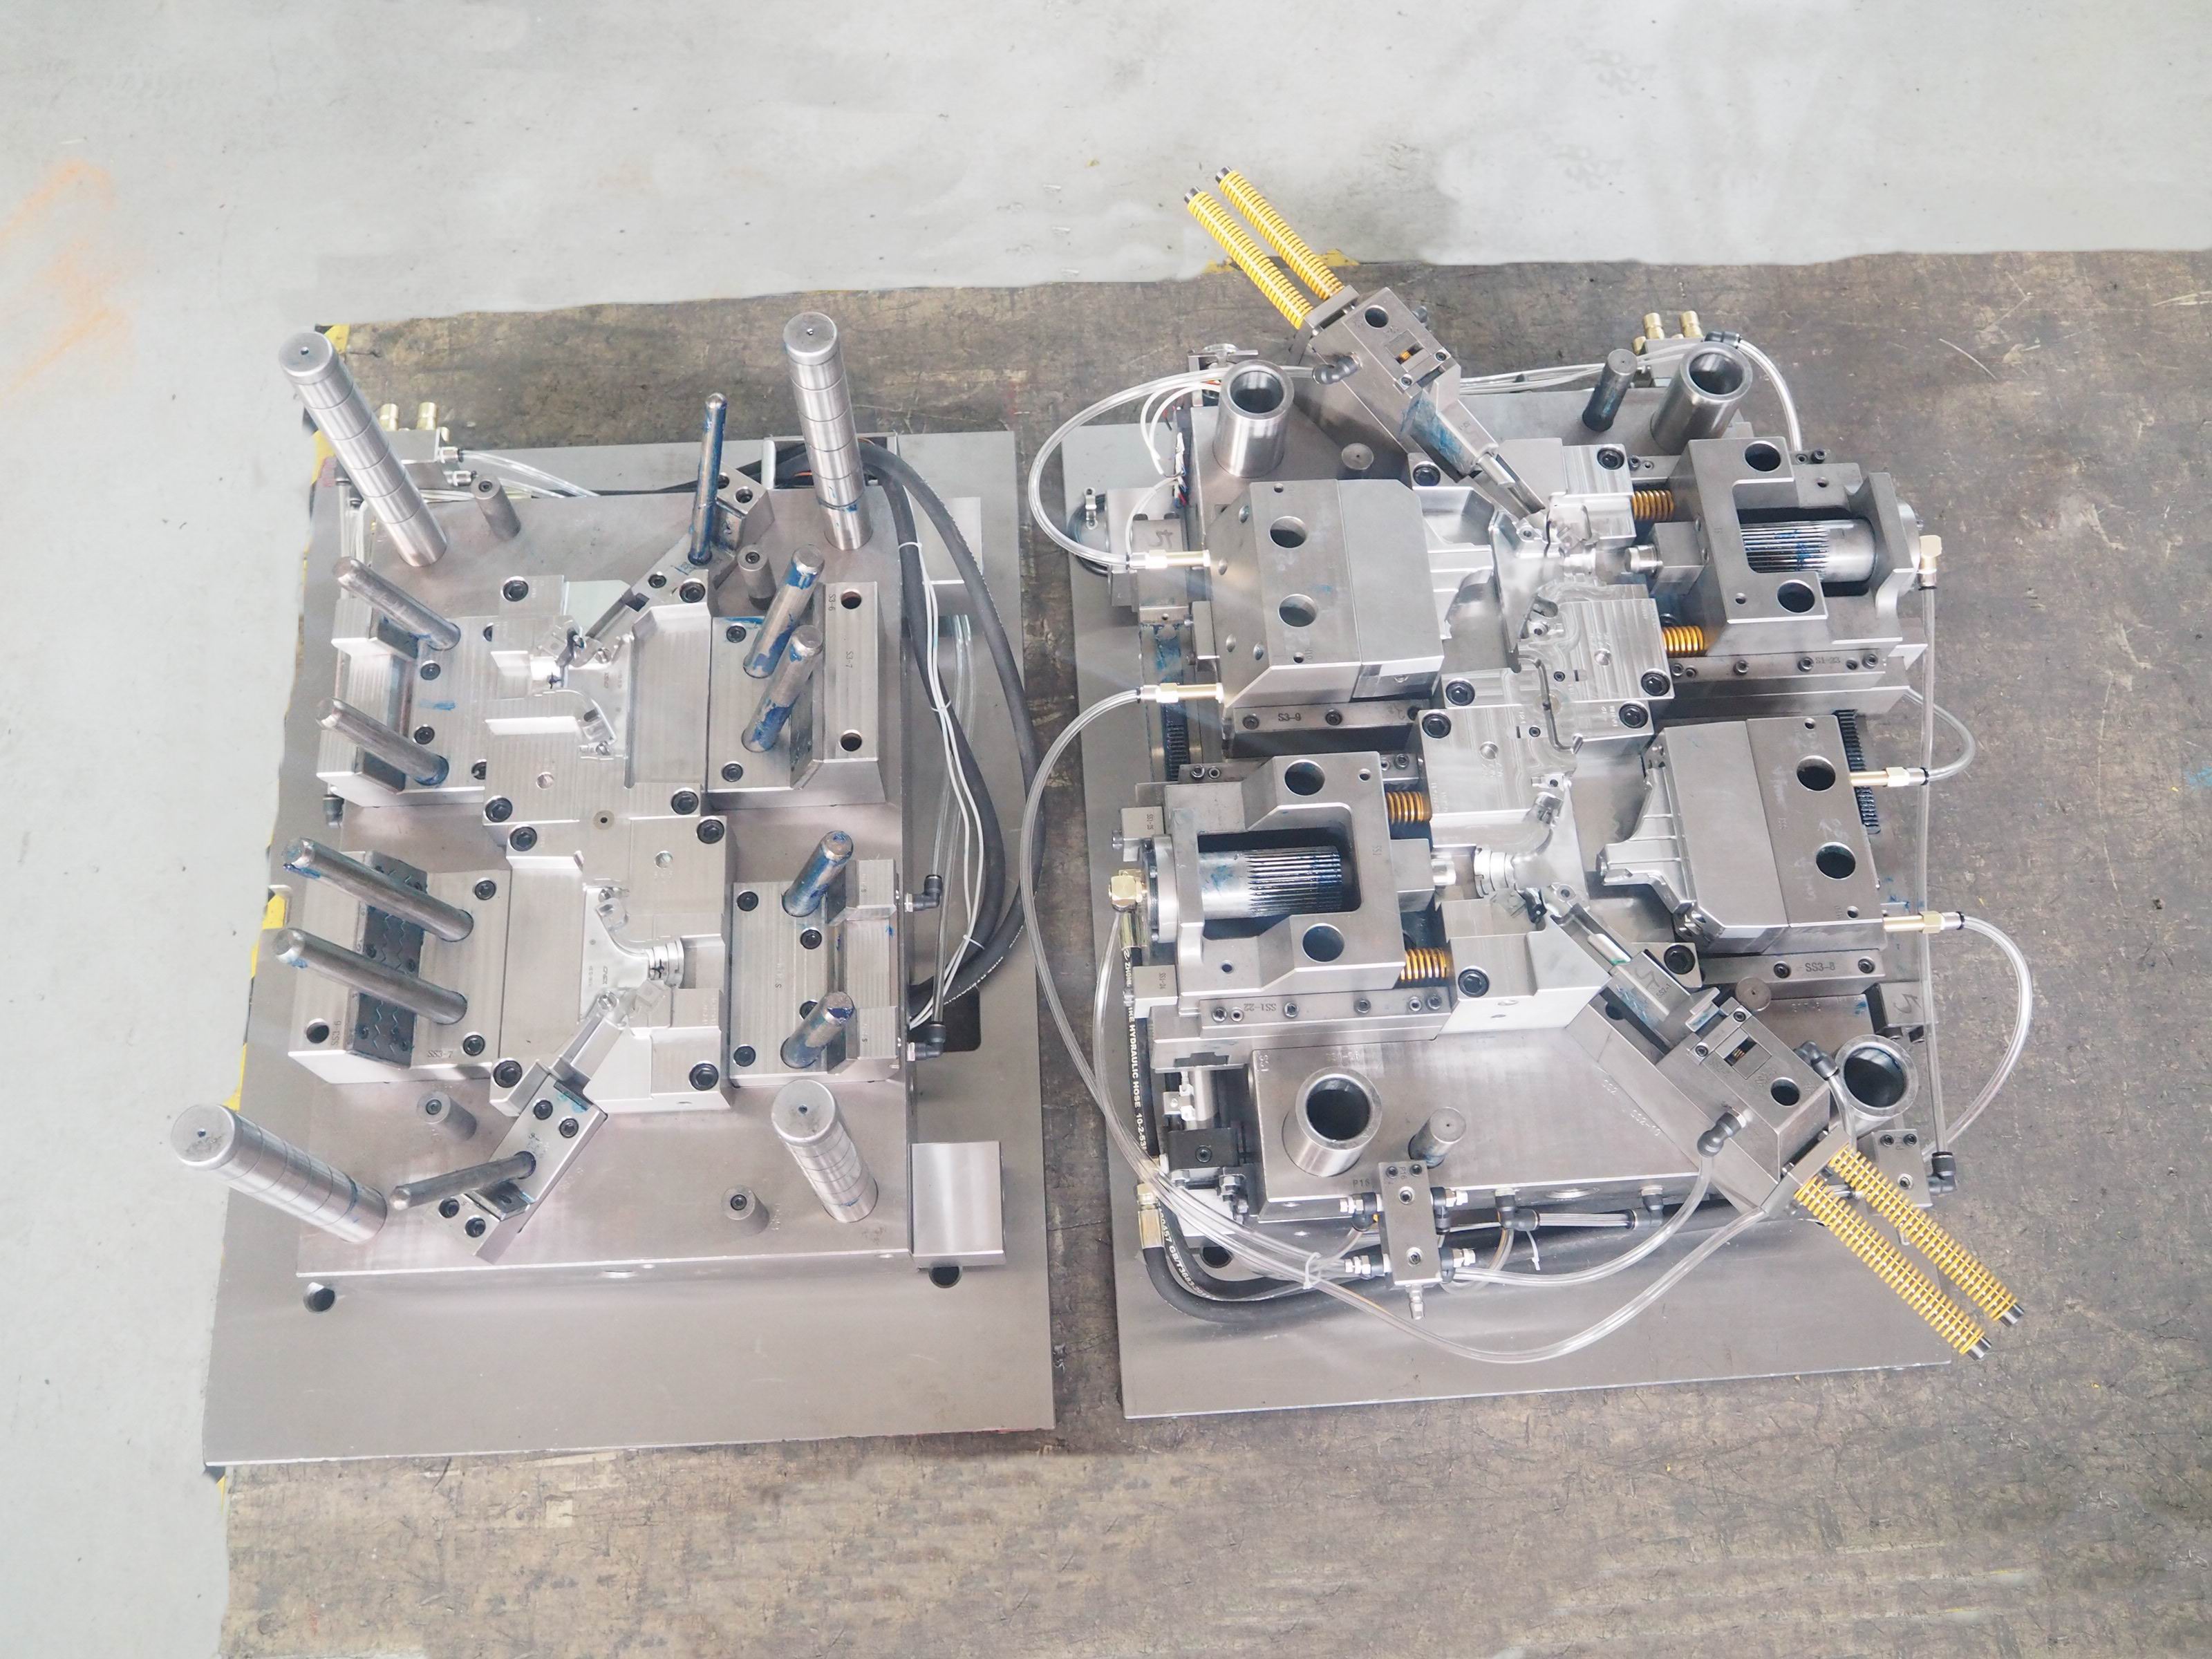
- Sliding components (e.g., sliders, lifters)
- Inserts and cores
- Shut-off areas
Even with high-precision machining, microscopic deviations still exist. Red lead spotting helps identify and correct these deviations before mold trials.
⚙️ How It Works (The Correct Principle)
A thin layer of red lead is applied to one surface. When the mold is closed:
- ✅ Contact areas → Red lead is transferred or wiped away
- ❌ Non-contact areas → Red lead remains unchanged
This allows toolmakers to clearly see:
- High spots (over-contact / too tight)
- Low spots (no contact / gaps)
- Overall contact distribution
👉 Important:
Red lead indicates where contact occurs, not just where it is missing.
🔧 Step-by-Step Application Process
1. Surface Preparation
Ensure both mating surfaces are:
- Clean
- Free of oil, dust, or debris
This is critical for accurate results.
2. Apply a Thin Layer
Use a brush, cloth, or finger to apply a very thin and even layer of red lead.
⚠️ Too much material can lead to false readings.
3. Close the Mold Gently
Bring the mold halves together:
- Avoid excessive force
- Allow natural contact to occur
4. Open and Inspect
Observe the distribution:
- Areas where red lead is removed → actual contact
- Areas still coated → no contact
Look carefully at:
- Uniformity
- Concentration of contact points
- Any localized heavy contact (too tight)
5. Manual Fitting (Spotting & Grinding)
Based on the result:
- Remove high spots using stones or polishing tools
- Repeat the process until optimal contact is achieved
This iterative process is known as spotting and fitting.
📊 What Is Considered “Good Contact”?
A common misconception is that “full contact” equals good quality.
In reality, ideal contact should be:
- ✔ Evenly distributed
- ✔ Sufficient coverage (typically ~70–90%)
- ✔ Free from localized over-pressure
❌ Too much contact (large solid areas)
→ May indicate over-tight fitting, leading to wear or stress
❌ Too little contact
→ May result in poor sealing, flash, or instability
🧪 Typical Applications in Plastic Injection Molds
Red lead spotting is widely used to verify:
✔ Parting Surface Sealing
Ensures proper closure and prevents flash during injection.
✔ Shut-off Areas
Critical for material containment and part accuracy.
✔ Radii and Corners (R areas)
After polishing or cleaning, spotting helps confirm whether fine details are properly matched.
✔ Sliding Mechanisms
Ensures smooth movement and proper guidance without excessive wear.
🌱 Modern Alternatives
Due to environmental and health concerns (traditional red lead contains lead), many manufacturers now use:
- Blue spotting paste
- Red marking compounds (lead-free)
The principle remains exactly the same.
💡 Final Thoughts
Red lead spotting may appear to be a simple, manual technique—but it reflects a deeper level of craftsmanship in mold making.
It bridges the gap between machining precision and real-world performance by answering a critical question:
👉 “Are these parts truly fitting the way we think they are?”
In high-quality tooling, the difference is often not just in the machines used—but in the attention to detail during fitting and validation.
If you're working on precision molds or facing issues like flash, poor sealing, or inconsistent fitting, this small step can make a big difference.