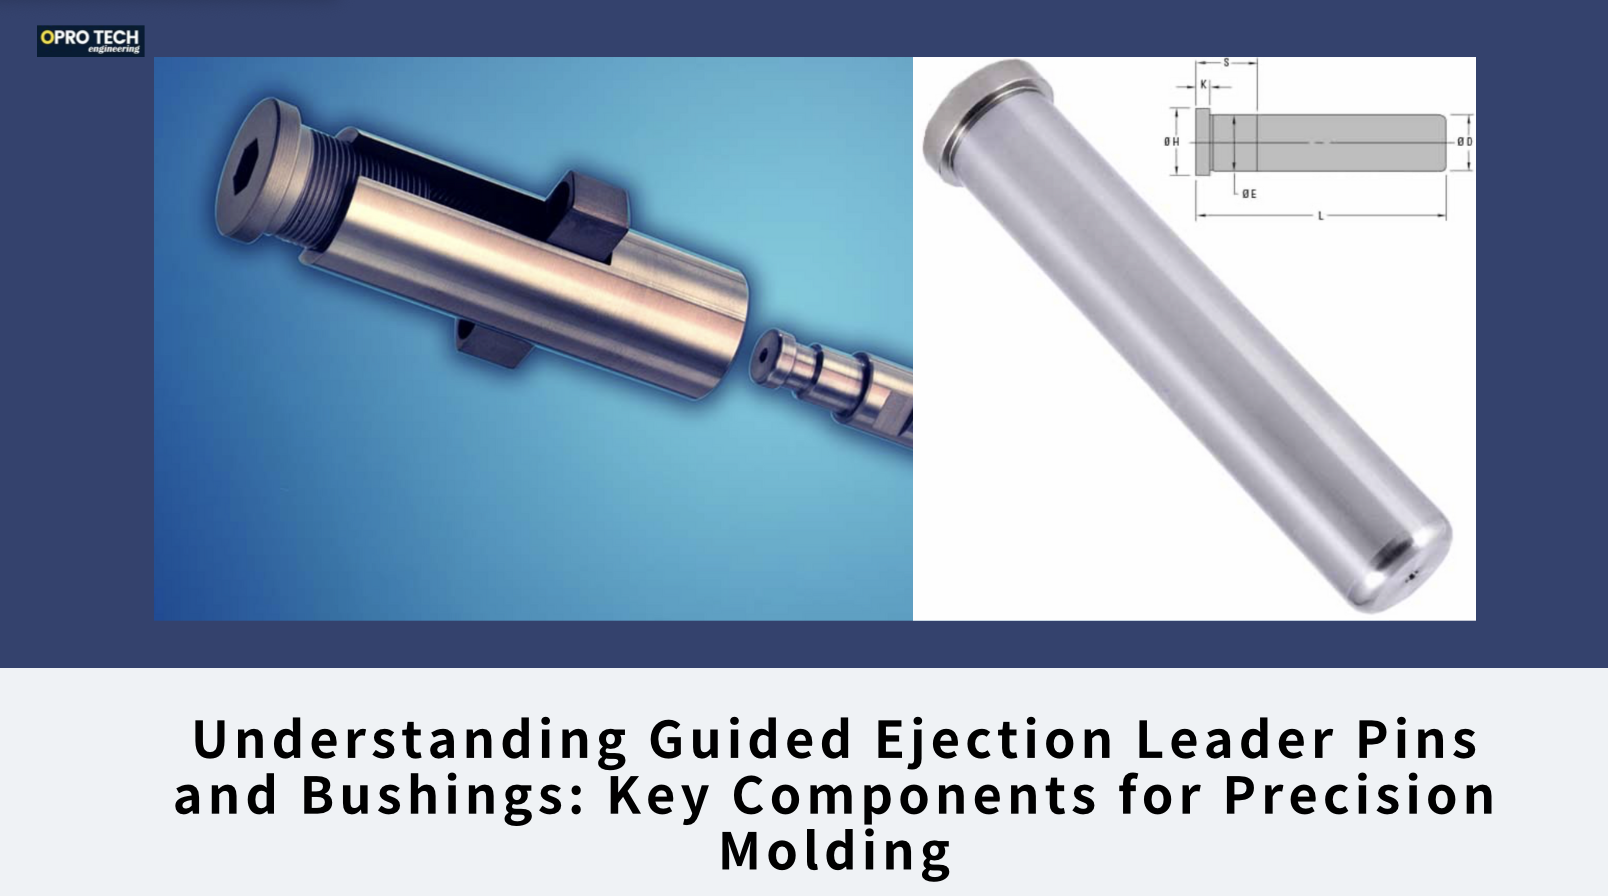
Understanding Guided Ejection Leader Pins and Bushings: Key Components for Precision Molding

In the world of tooling molds, precision and smooth operation are paramount. One often-overlooked yet crucial component in achieving these goals are Guided Ejection Leader Pins and Leader Bushings.
These components play a significant role in ensuring that molded parts are ejected cleanly, without misalignment or damage, and with minimal wear to the mold itself. While their function may seem simple, the design and proper assembly of these parts can make the difference between efficient production and costly downtime.
In this article, we’ll dive into the purpose of Guided Ejection Leader Pins and Bushings, explore different assembly methods, and discuss why they’re essential for achieving high-quality, consistent results in injection molding.

Guided Ejection Leader Pin
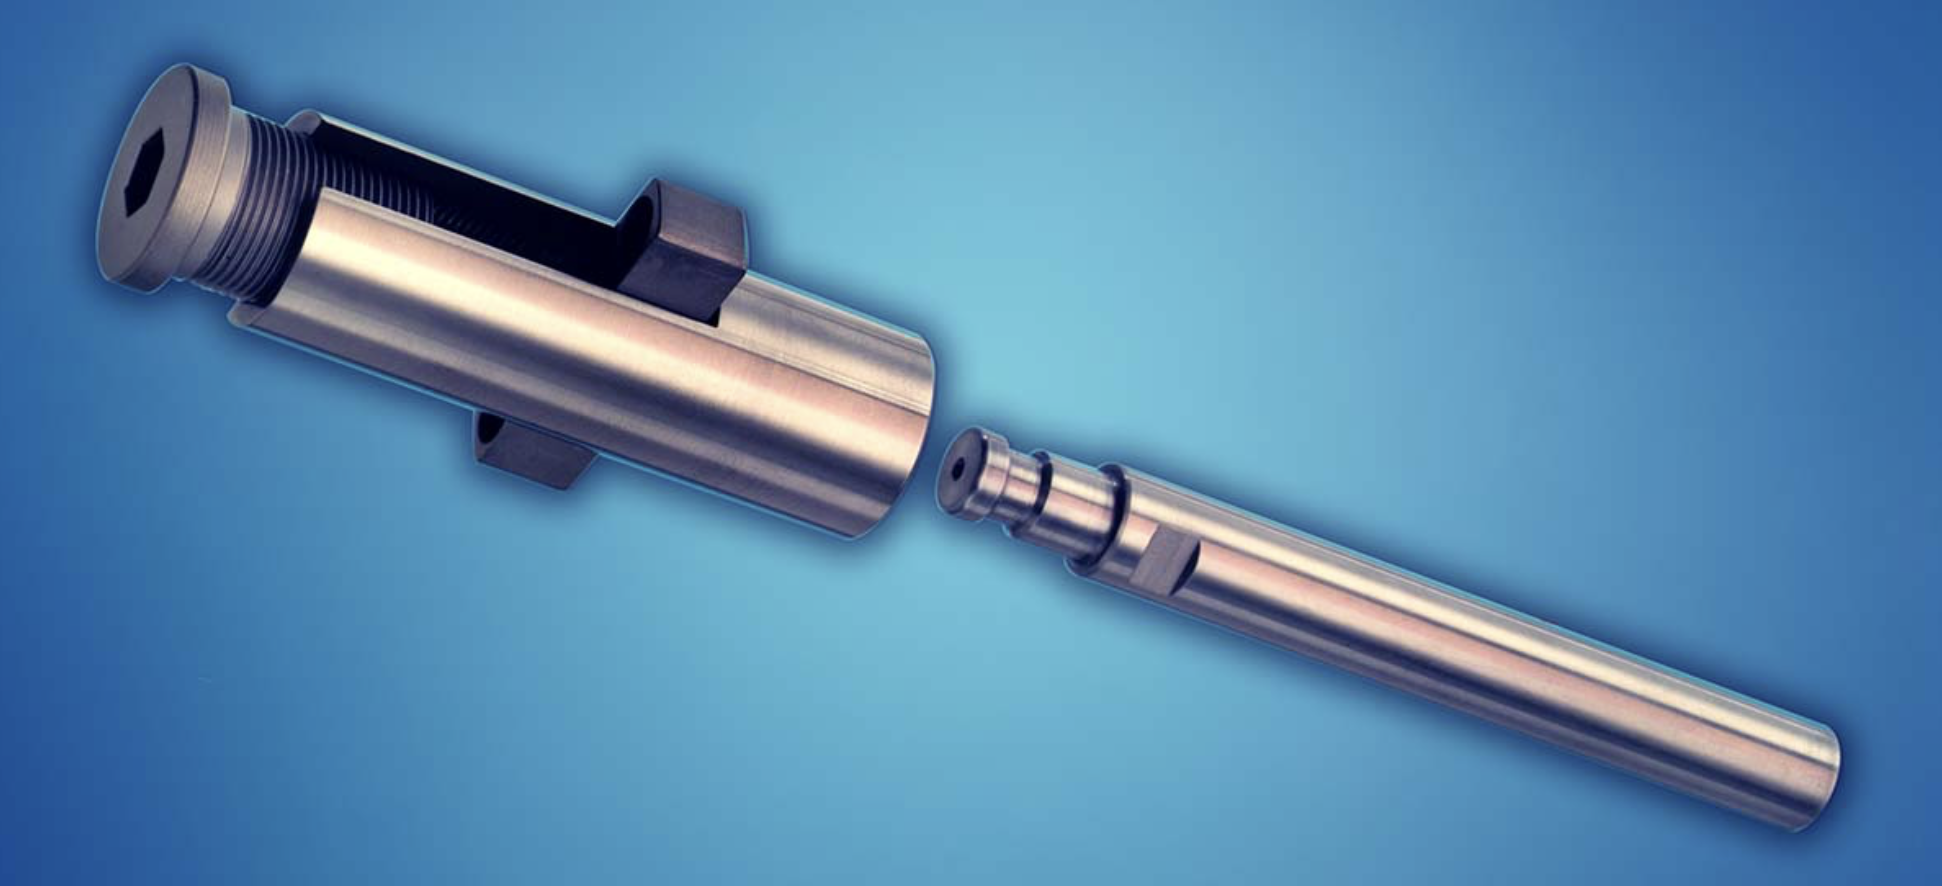
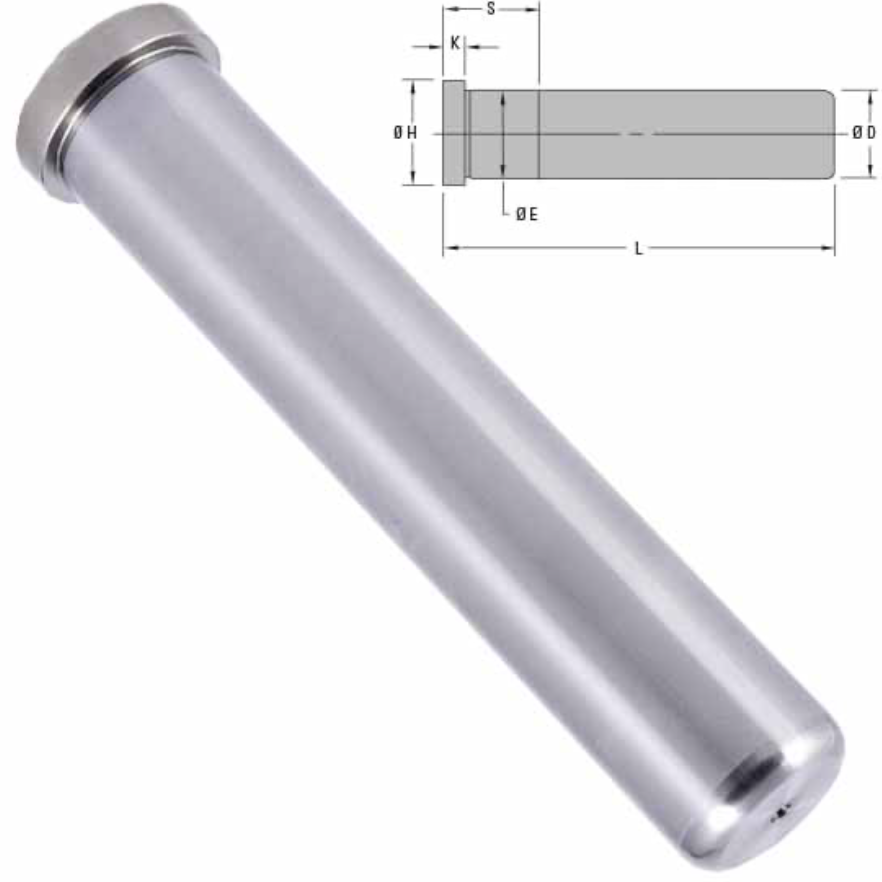
The Guided Ejection Leader Pin is a type of pin used in mold ejection systems, specifically in the context of molded parts with complex shapes or parts that require precise and controlled ejection from the mold. The leader pin helps to guide the mold core during ejection while ensuring that the mold does not shift or move, which could lead to part misalignment or damage.
Guided Ejection Leader Bushing
The Guided Ejection Leader Bushing is a corresponding component that works in tandem with the leader pin. It’s typically a bushing or sleeve that provides support and alignment for the leader pin during the ejection process. The bushing ensures that the leader pin moves smoothly and in alignment, preventing issues like wear or misalignment of the mold components during ejection.

Purpose and Function
These two components—the leader pin and bushing—serve the following functions:
- Alignment: They ensure the mold components are properly aligned during ejection, minimizing the risk of part misalignment or sticking in the mold.
- Controlled Ejection: They guide the movement of the mold, ensuring that ejection occurs evenly and smoothly, without causing damage to the mold or the part.
- Reduced Wear: They help reduce the wear on mold parts by providing a controlled path for the mold to eject, which also extends the lifespan of the mold and improves overall efficiency.
Are they Necessary Parts for Tooling Mold?
While not all molds will necessarily require Guided Ejection Leader Pins and Bushings, they are highly recommended for molds with complex geometries, delicate parts, or high-precision requirements. If the mold has features like deep cores, narrow passages, or intricate shapes, these components help prevent sticking, uneven ejection, or damage to the mold and part. For simpler molds, these components might not be required, but they can still contribute to better performance and longevity.
In summary:
- Purpose: To ensure proper alignment and smooth ejection of parts, reducing wear and potential damage.
- Necessity: They are not always required, but for complex or delicate parts, they are highly beneficial.

parts stay securely in place during the mold's operation.
Process:
- The Leader Bushing is press-fitted into the mold core or plate.
- The Leader Pin is then press-fitted into the bushing or aligned hole in the mold assembly.
Steps:
- The Leader Bushing is placed into the mold plate using press-fitting.
- The Leader Pin is also press-fitted into the leader bushing.
- Proper alignment is essential to avoid any misalignment during ejection.
Advantages:
- This method provides a more secure and tight fit, which reduces movement or vibration of the pin and bushing during ejection.
- It works well for high-precision applications.
3. Bolt-On Assembly
For molds where the leader pin needs to be secured more permanently, bolt-on assembly can be used. This method involves fixing the leader pin and/or bushing to the mold using bolts or screws.
Process:
- The Leader Pin is attached to the mold through bolts, either into the mold core or ejector plate.
- The Leader Bushing may also be bolted into place in the mold core or plate.
Steps:
- The Leader Bushing is installed in the mold plate or core.
- The Leader Pin is mounted using bolts or screws.
- Alignment is crucial to ensure smooth operation, with the bolts preventing the pin from shifting during use.
Advantages:
- Provides a more permanent and secure attachment for the leader pin and bushing.
- Ideal for molds that undergo heavy use or where vibration and wear are significant concerns.
4. Snap-Fit or Quick-Fit Assembly
In some cases, snap-fit or quick-fit systems can be used for easier installation or removal of the leader pin and bushing, especially in molds where maintenance or component replacement is frequent.
Process:
- The Leader Pin and Leader Bushing are designed with a snap-fit mechanism.
- These components can be easily assembled and disassembled without the need for tools or press-fitting.
Steps:
- The Leader Pin is aligned with the Leader Bushing.
- The snap-fit mechanism locks the pin into place within the bushing.
Advantages:
- Fast and easy to assemble or replace, reducing downtime.
- Suitable for molds that require frequent changes or repairs.
5. Adjustable Assembly
In some advanced tooling systems, the position of the Leader Pin or Leader Bushing may need to be adjustable to accommodate different molding conditions, wear, or adjustments to the ejection process.
Process:
- The Leader Bushing is mounted with a mechanism (e.g., a set screw or adjustable sleeve) that allows it to be moved or adjusted after installation.
- The Leader Pin can be adjusted to accommodate changes in mold configuration or wear over time.
Steps:
- The Leader Bushing is installed with an adjustable feature.
- The Leader Pin is inserted and adjusted as necessary.
Advantages:
- Allows for fine adjustments during the mold's life cycle.
- Useful for molds that are expected to undergo changes or for prototyping applications.
Which Assembly Method to Choose?
- Traditional and Press-Fit methods are common for most molds with standard needs.
- Bolt-On Assembly is used for high-stress or heavy-duty molds.
- Snap-Fit and Adjustable are ideal for molds that need quick replacement or adjustments, especially in prototyping or high-maintenance environments.
In general, the choice of assembly method depends on the mold’s complexity, the precision required, and the maintenance schedule.
Guided Ejection Leader Pins and Bushings may be small components, but their impact on mold performance and longevity cannot be overstated. By providing precise alignment and smooth ejection, these parts help maintain mold integrity, reduce wear, and improve the overall efficiency of the molding process.
Understanding the various assembly methods and choosing the right approach for your mold design can make a significant difference in your production outcomes. Whether you’re dealing with complex part geometries or striving for greater precision, investing in the right guided ejection system will pay off in both the short and long term. Proper maintenance and assembly of these components are essential to keeping your tooling molds operating at their best, ensuring high-quality production with minimal interruptions.
Factory add: No 39, Zhen an west road, Changan town , Dong guan city, China.