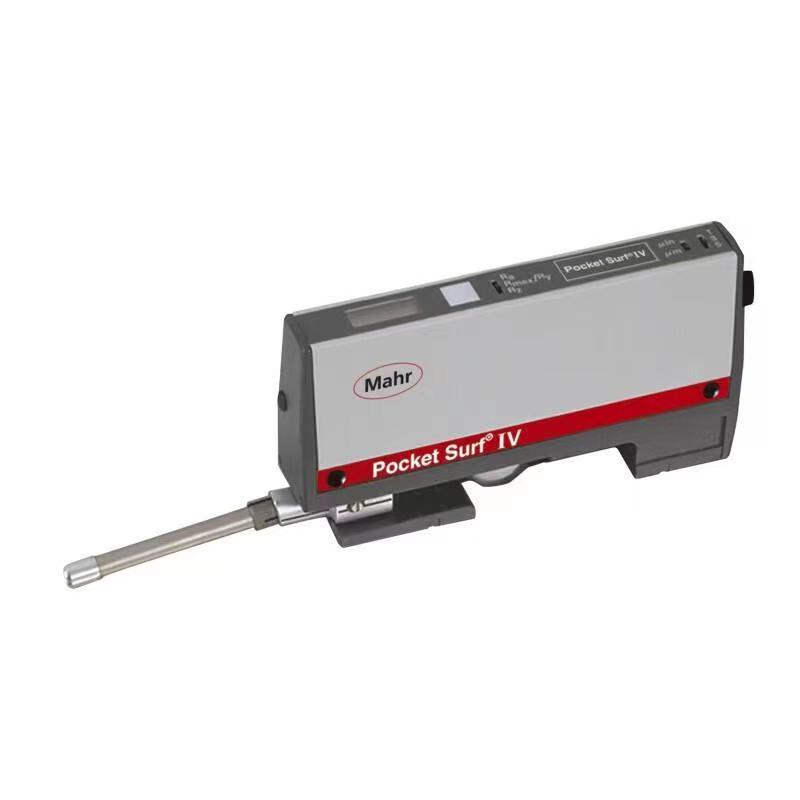
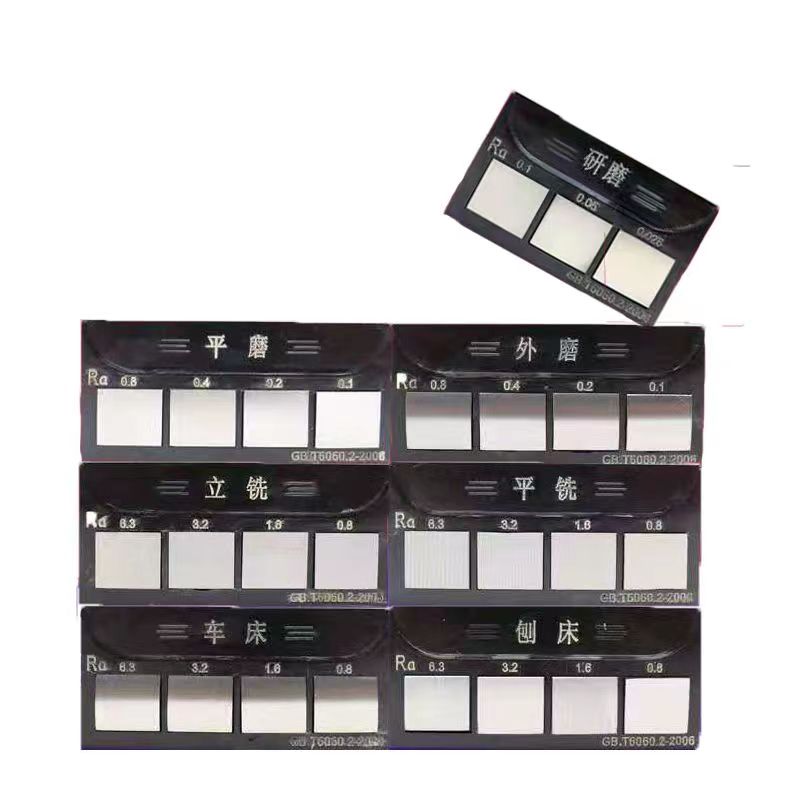
Mahr Portable Roughness Tester vs Roughness Comparison Specimens

Yesterday, we discussed the use of different tools for measuring the surface roughness of machined products. Previously, we had been using roughness comparison specimens, but due to their surface treatment not meeting the high expectations for smoothness, we learned that the customer utilizes the German-made Mahr portable roughness tester. Upon hearing the customer's complaint, we promptly took action and procured this instrument, aiming to align with the customer's preferred measurement methods and techniques.
Mahr Portable Roughness Tester:
Features: Typically portable, suitable for on-site measurements, with high precision and reliability.
Functionality: Capable of measuring and providing various surface roughness parameters such as Ra, Rz, etc.
Applicability: Suitable for quick and real-time measurement of surface roughness, widely used in production sites and laboratories.
Roughness Comparison Specimens:
Features: Standard samples with known surface roughness used to verify the accuracy of measuring instruments.
Functionality: Provides a reference with known roughness, allowing users to compare measurement results with the comparison specimens to ensure accuracy.
Applicability: Used for calibrating and validating various types of surface roughness measuring instruments, ensuring their reliability in different environments and applications.
When using the Mahr portable roughness tester, it is common to calibrate and validate with roughness comparison specimens before and after measurements. This helps ensure the reliability and consistency of measurement results. The selection of comparison specimens should align with the expected roughness range of the measured surface to ensure the effectiveness of the comparison samples.
We are committed to adapting to our customer's needs, ensuring that the surface roughness of our products meets high standards. If there are any other requirements or suggestions, please feel free to let us know.
🎥🛠️ Check out our latest video where we demonstrate the process of wrapping CNC machining products! 📦

In this video, we focus on wrapping 30 pieces of Brass 2.0401 tubes, ensuring their safety and protection during transit.
With precision as our priority, each product is handled with care, meeting the strict tolerance standards of DIN ISO 2768 - mH. Plus, we maintain an inner roughness of 0.8, guaranteeing optimal quality for our valued customers.
Stay tuned for more behind-the-scenes glimpses into our manufacturing process! 🔍✨
click and to check the video out: https://youtu.be/RnD8jaD2Sbk
hashtagManufacturing hashtagCNCMachining hashtagQualityControl hashtagProductPackaging hashtagEngineeringExcellence